Voting
Voting on Tally
Follow the steps described below to vote on a proposal of the Lisk DAO. The Lisk DAO uses Tally to facilitate the voting on proposals.
The process in a nutshell:
- Go to Lisk DAO and connect your wallet to Tally.
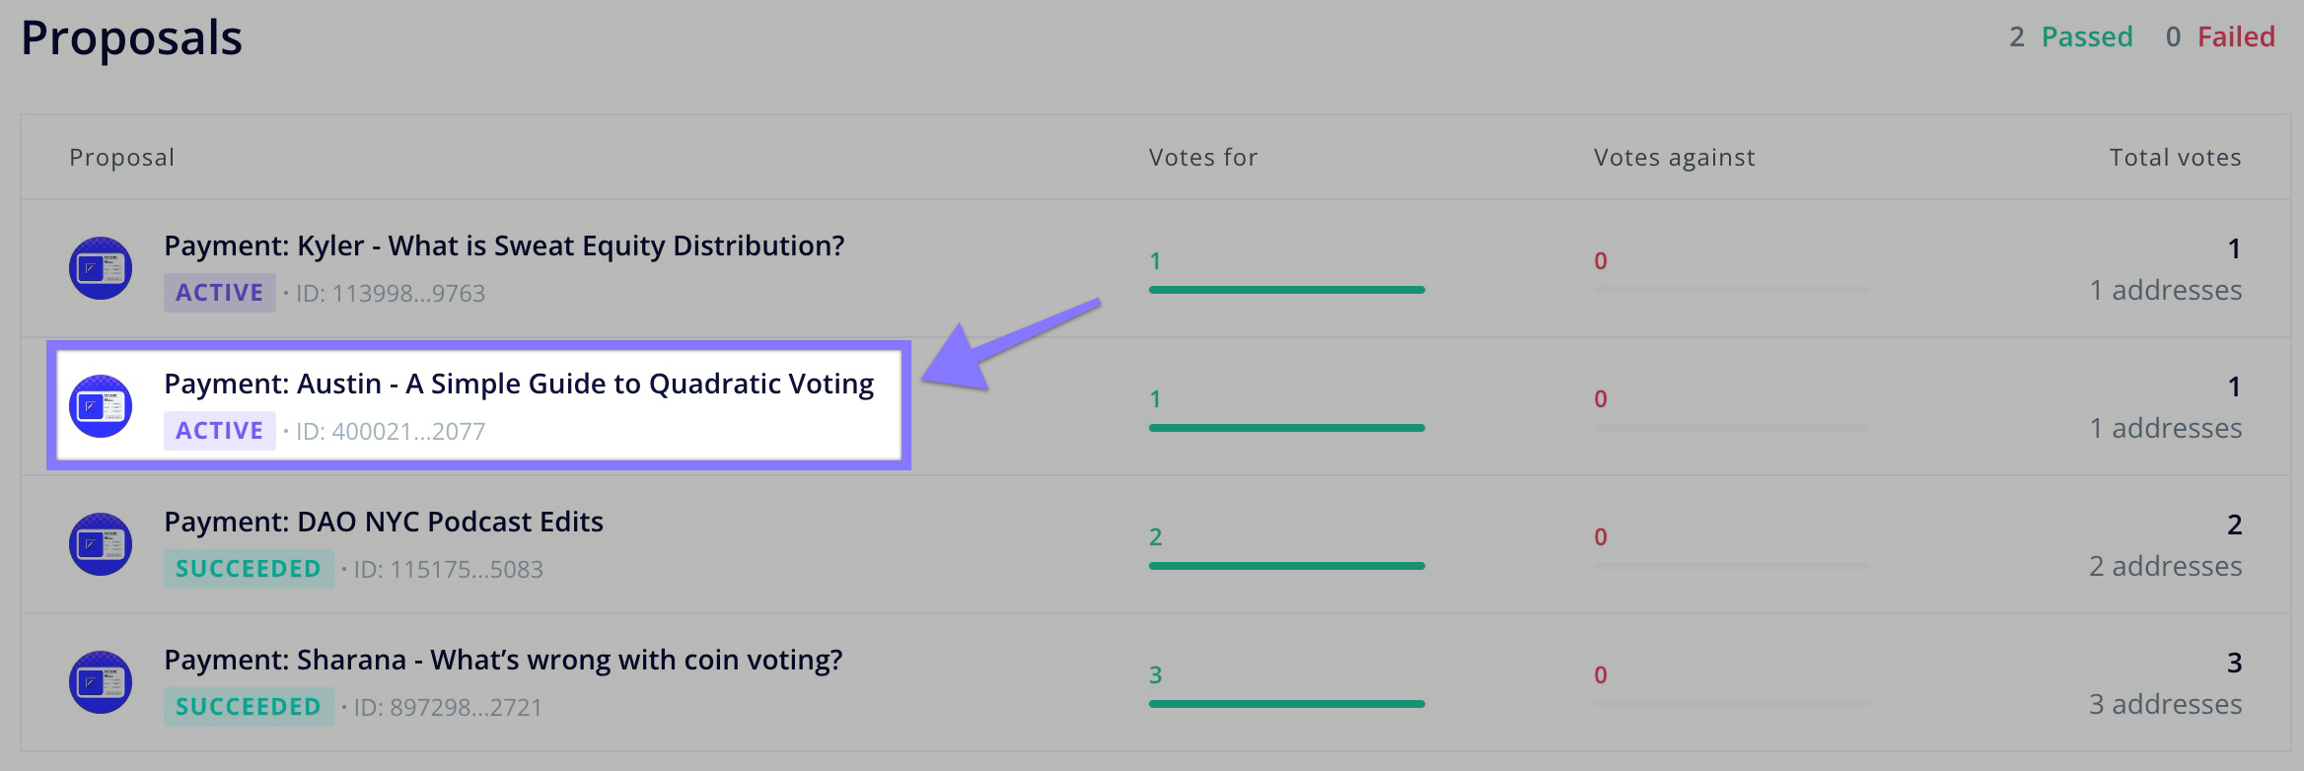
- Navigate to the Lisk DAO proposals page.

- Select the active proposal you would like to vote on.
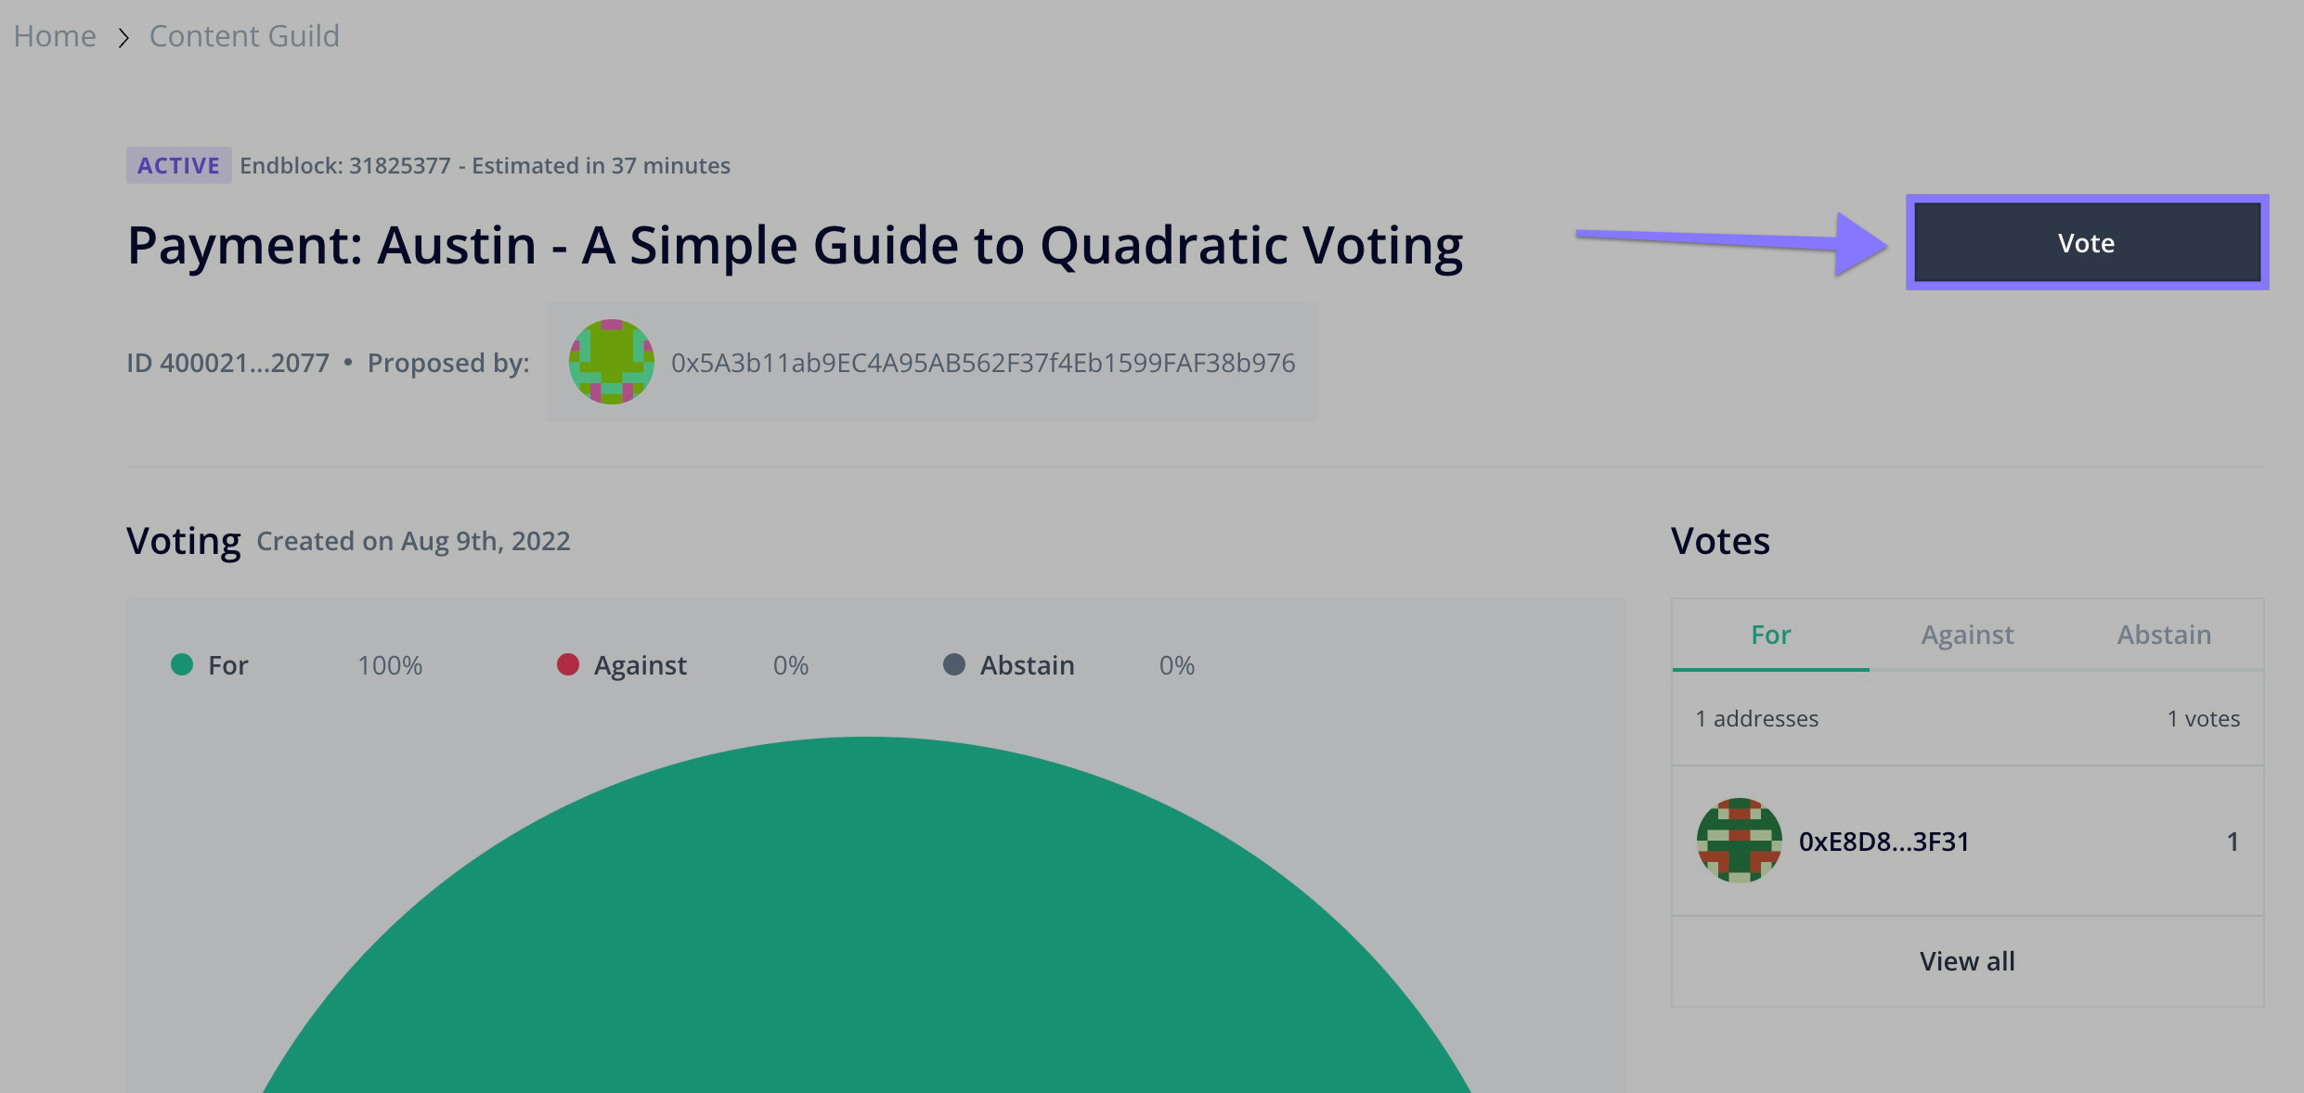
- Click on the
Votebutton in the upper right corner of the page.

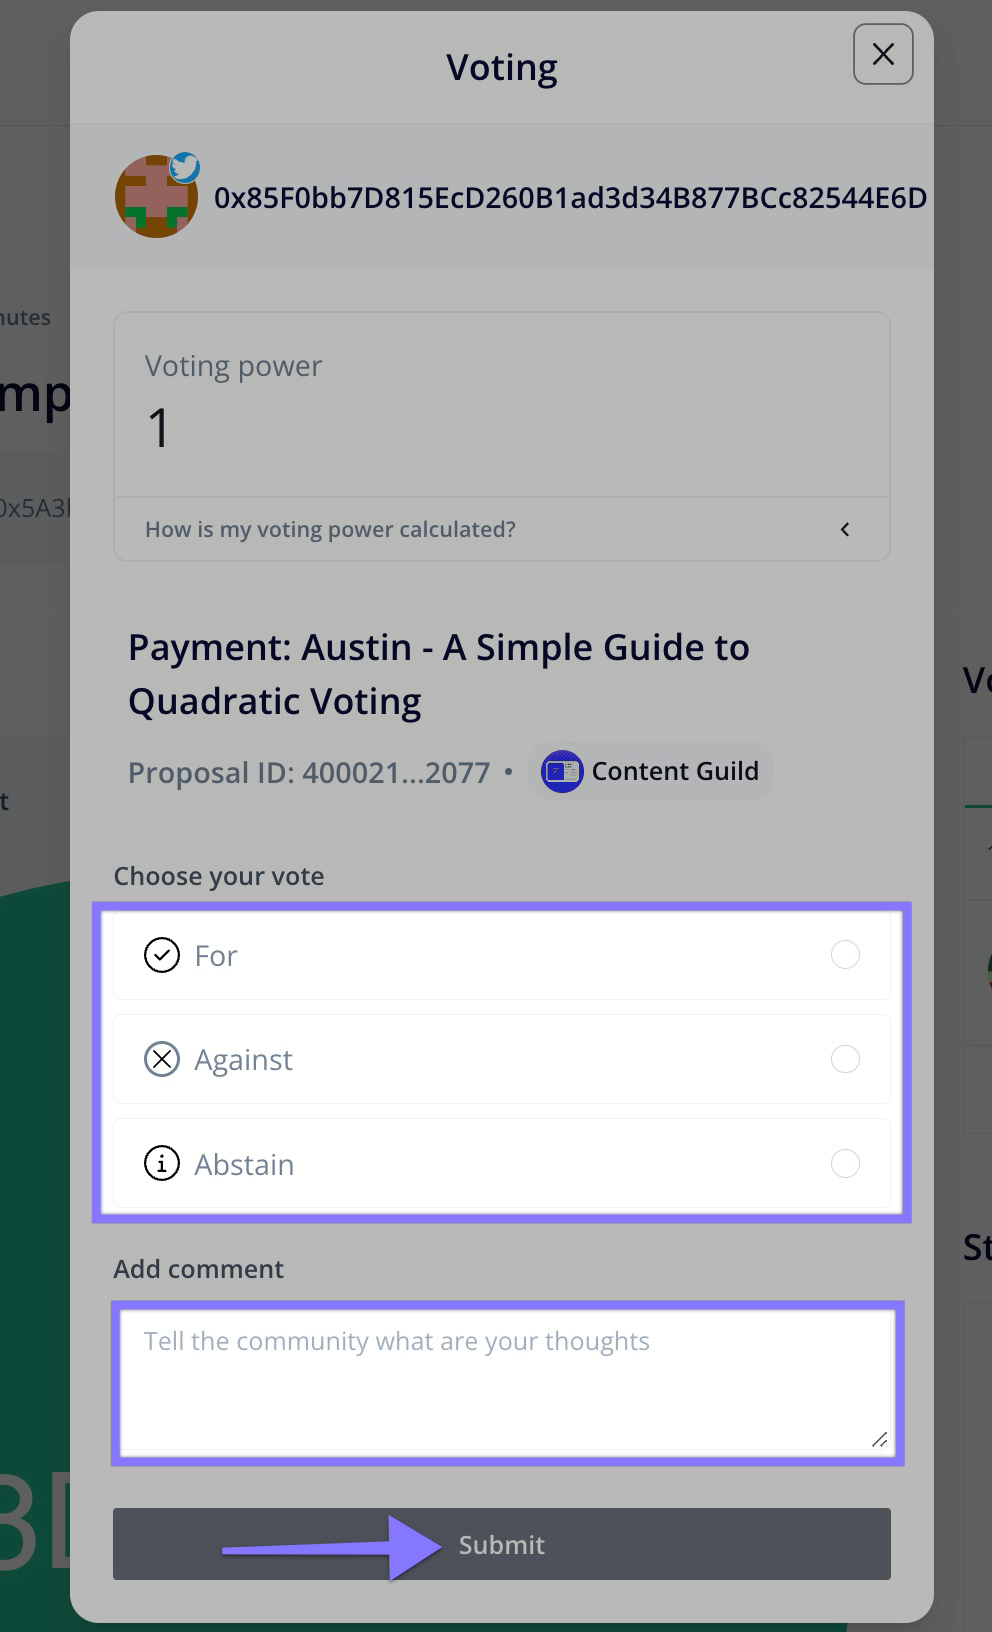
- In the Voting pop up, choose your vote — For, Against, or Abstain.
If you'd like, add a comment to explain the reason for your vote to the rest of your DAO.
Once you're done, click
Submit.

- Confirm and sign the transaction via your connected wallet.
Voting without Tally
It is crucial that members of the Lisk DAO can interact with the DAO at any point in time, even when Tally, the standard front end for the Lisk DAO, is down. Most importantly, voting and delegating should always be possible by interacting directly with the smart contract. How to vote manually is described below. For a guide on how to delegate your voting power manually, see the Delegation page.
Prerequisites
You must know the proposal ID of the proposal you want to vote for. The proposal ID is a very long integer (uint256). To get the ID for a proposal, get the respective Logs from an RPC node:
async function main() {
    const { ethers } = require("ethers");
    const provider = new ethers.JsonRpcProvider("https://rpc.api.lisk.com");
    const logs = await provider.getLogs({
        fromBlock: 568778, // block when Governor contract got deployed
        toBlock: 'latest',
        address: "0x58a61b1807a7bDA541855DaAEAEe89b1DDA48568", // L2Governor Proxy
        topics:['0x7d84a6263ae0d98d3329bd7b46bb4e8d6f98cd35a7adb45c274c8b7fd5ebd5e0'] // signature of `ProposalCreated` event
    });
    console.log(logs);
}

main()
The return value is an array of logs, where each log corresponds to one proposal (creation) and has the corresponding transaction hash.
[
  Log {
    provider: JsonRpcProvider {},
    transactionHash: '0xc2663d2ffc0c6082e8766a18879972692515f37c02c97b193776f4b9b6bb71c3',
    blockHash: '0x5710e760423b493ad5eb644c1a4e2ee4e95f3b5da1675c80a9d1bbf421832186',
    blockNumber: 3952205,
    // ...
  }
]
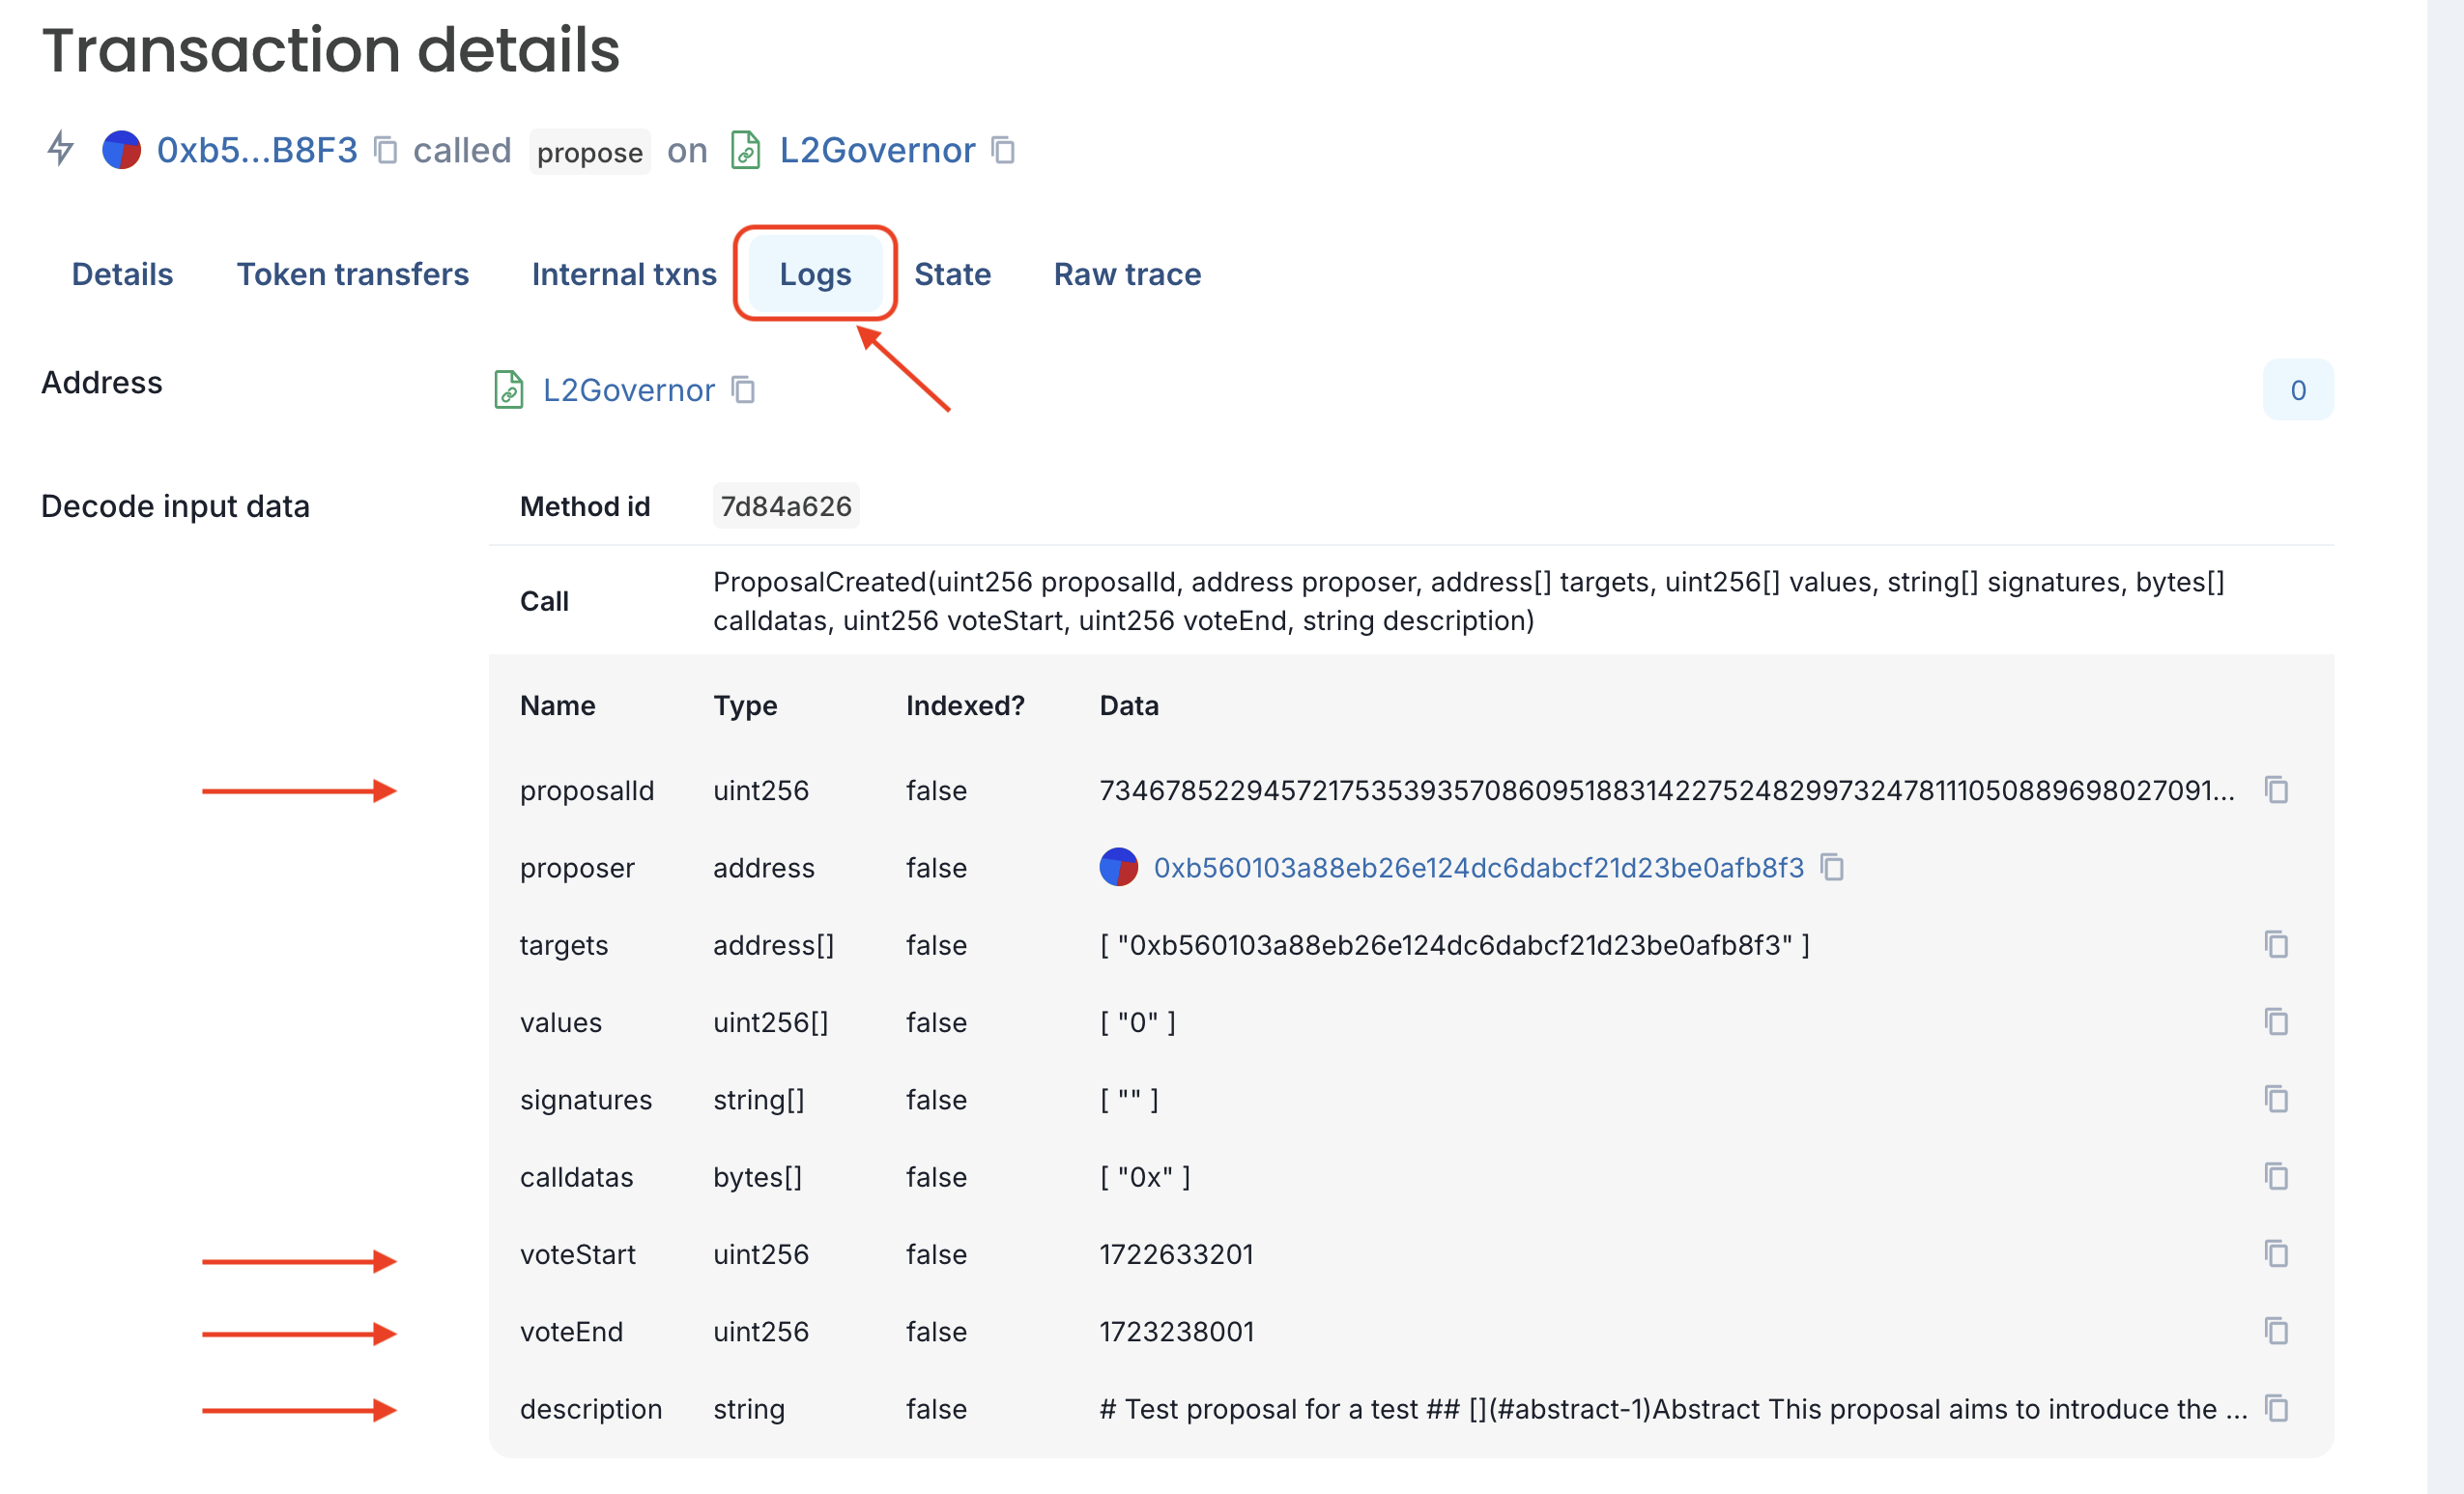
The transaction hash can then be pasted into Blockscout to see more details of the proposal.
To see if the proposal is the one you are looking for, click on the Logs tab and look for the ProposalCreated event. If the values, in particular the ones for description, voteStart and voteEnd, match with the proposal you want to vote on, then it is the right one. To get the proposal ID, copy the value of the field proposalId.

Steps
- Go to the
Write proxytab on the L2Governor proxy contract on Blockscout: https://blockscout.lisk.com/address/0x58a61b1807a7bDA541855DaAEAEe89b1DDA48568?tab=write_proxy. - If your wallet is not already connected to Blockscout, click on
Connect walletand follow the instructions to connect your wallet1.

- Click on
3. castVoteto unfold the form for the castVote function.

- Insert the proposal ID of the proposal you want to vote on into the field
proposalId (uint256)*. - Fill the
support (uint8)*field as follows:
- If you want to vote against the proposal, insert
0. - If you want to vote for the proposal, insert
1. - If you want to vote with abstain, insert
2.
- Click on the
Writebutton.

- Confirm the transaction in your wallet.
To verify the vote was submitted correctly, you can check the VoteCast event of your transaction.